Here Are 9 Steps Of Sardines Canning Process
By. Nevanda - 30 Jun 2023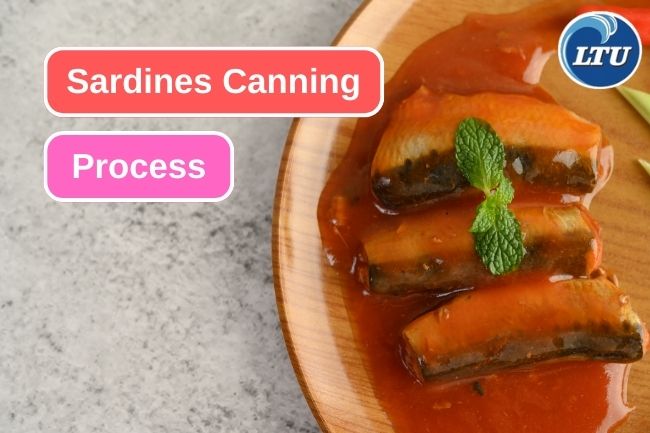
lauttimur.com - Sardine canning is a process that involves preserving and packaging sardines in cans to extend their shelf life. The process typically includes several stages, from receiving the fresh sardines to sealing the cans for distribution. Here's a general overview of the sardine canning process:
1. Receiving and sorting
Fresh sardines are delivered to the canning facility and undergo initial inspection and sorting. Any damaged or low-quality fish are removed at this stage.
Read also: Simple and Delicious Tuna Steak Recipe You Could Try
2. Cleaning and washing
The sardines are thoroughly cleaned and washed to remove impurities, scales, and any residual dirt or debris. This step ensures the fish are ready for further processing.
3. Precooking
The cleaned sardines are pre-cooked to partially cook the fish and facilitate the removal of the skin and bones. The precooking process typically involves boiling or steaming the sardines for a short period of time.
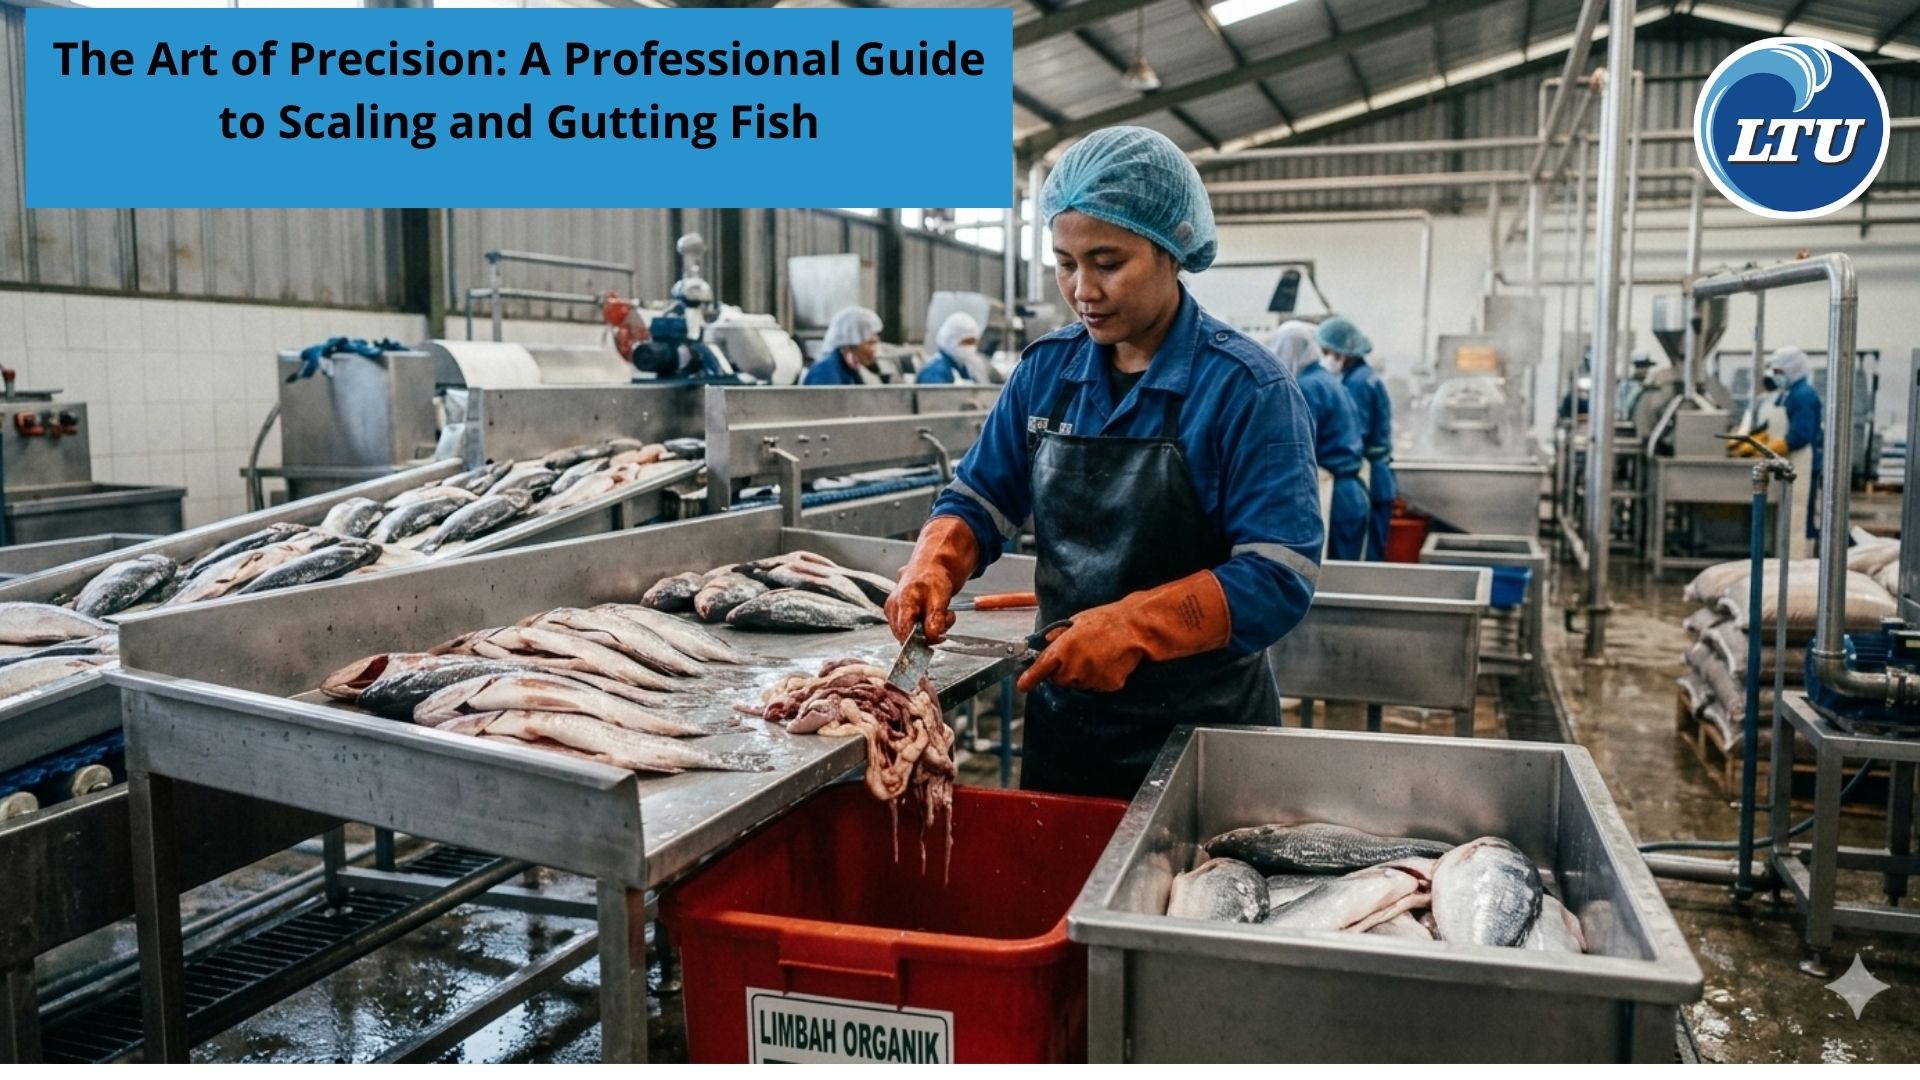
4. Gutting and filleting
After precooking, the sardines are cooled down and then subjected to gutting and filleting. Skilled workers manually remove the entrails, heads, tails, and other unwanted parts. The filleted sardines are obtained, ready for canning.
5. Canning
The filleted sardines are carefully placed into metal cans, usually with added oil, water, or sauce for preservation and flavor. The cans are typically made of tin-plated steel and are designed to withstand the canning process.
Read also: Types And Causes Of Tuna Poisoning
6. Adding additional ingredients
Depending on the desired product, additional ingredients such as salt, spices, herbs, or sauces may be added to enhance the taste and provide variety to the canned sardines.
7. Sealing and sterilization
Once the cans are filled with sardines and any additional ingredients, they are sealed tightly to prevent air and bacteria from entering. The sealed cans are then subjected to sterilization processes, typically involving high-temperature cooking (retort process), which kills bacteria and ensures the safety and extended shelf life of the product.
8. Cooling and labelling
After sterilization, the cans are rapidly cooled down to ensure product quality. Labels containing relevant information, such as product name, ingredients, nutritional information, and expiration date, are affixed to the cans.
9. Packaging and storage
The labeled cans are packaged into cartons or trays for easier handling and transportation. They are then stored in appropriate conditions, typically in a cool and dry environment, until they are ready for distribution to retailers or consumers.
Read also: 6 Aquaculture Impact To Aquatic Ecosystem